In the early 2000s, I was nuts about Cascading Style Sheets. I read all the CSS blogs, kept up with draft spec updates, tracked browsers with the Acid2 test, and regularly strolled through the CSS Zen Garden. In particular, the last of these had me gripped. As an overseas grad student studying literature in Scotland, I should have had sufficient distraction to draw me out of the forums and offline, but I was without immunity to this particular brand of technophilia, combining persnickety nitpickery with visual flare. I couldn’t get enough. So when The Zen of CSS Design, a “best of” showcase with case studies, was published twenty(!) years ago this month, I immediately ordered a copy. The book has followed me through one international move and four domestic moves, even surviving a devastating cull that halved my bookshelves. After twenty years, I can’t shake it and don’t want to.
Today, I do less with CSS and more with R, which I use in my research and teaching. But I haven’t fled the garden. I still draw on CSS when designing Shiny apps or adjusting HTML output from Quarto. And recent improvements to the WebR project, which promises the power of Shiny without the need for a dedicated server, have afforded me another reason to grab shears and a sunhat. Instead of planting pure CSS dream gardens, though, I’m now cultivating interactive learning experiences—pruning layouts, shaping user interactions, and ensuring things grow in harmony.
Just as CSS changed what was possible in web design, WebR has changed what’s possible for data work by running R directly from the browser. The Zen of CSS Design’s 20-year anniversary offers a fitting moment to graft WebR onto the healthy roots of CSS. Let’s dig in.1
1 If you only care about the final product, feel free to jump ahead.
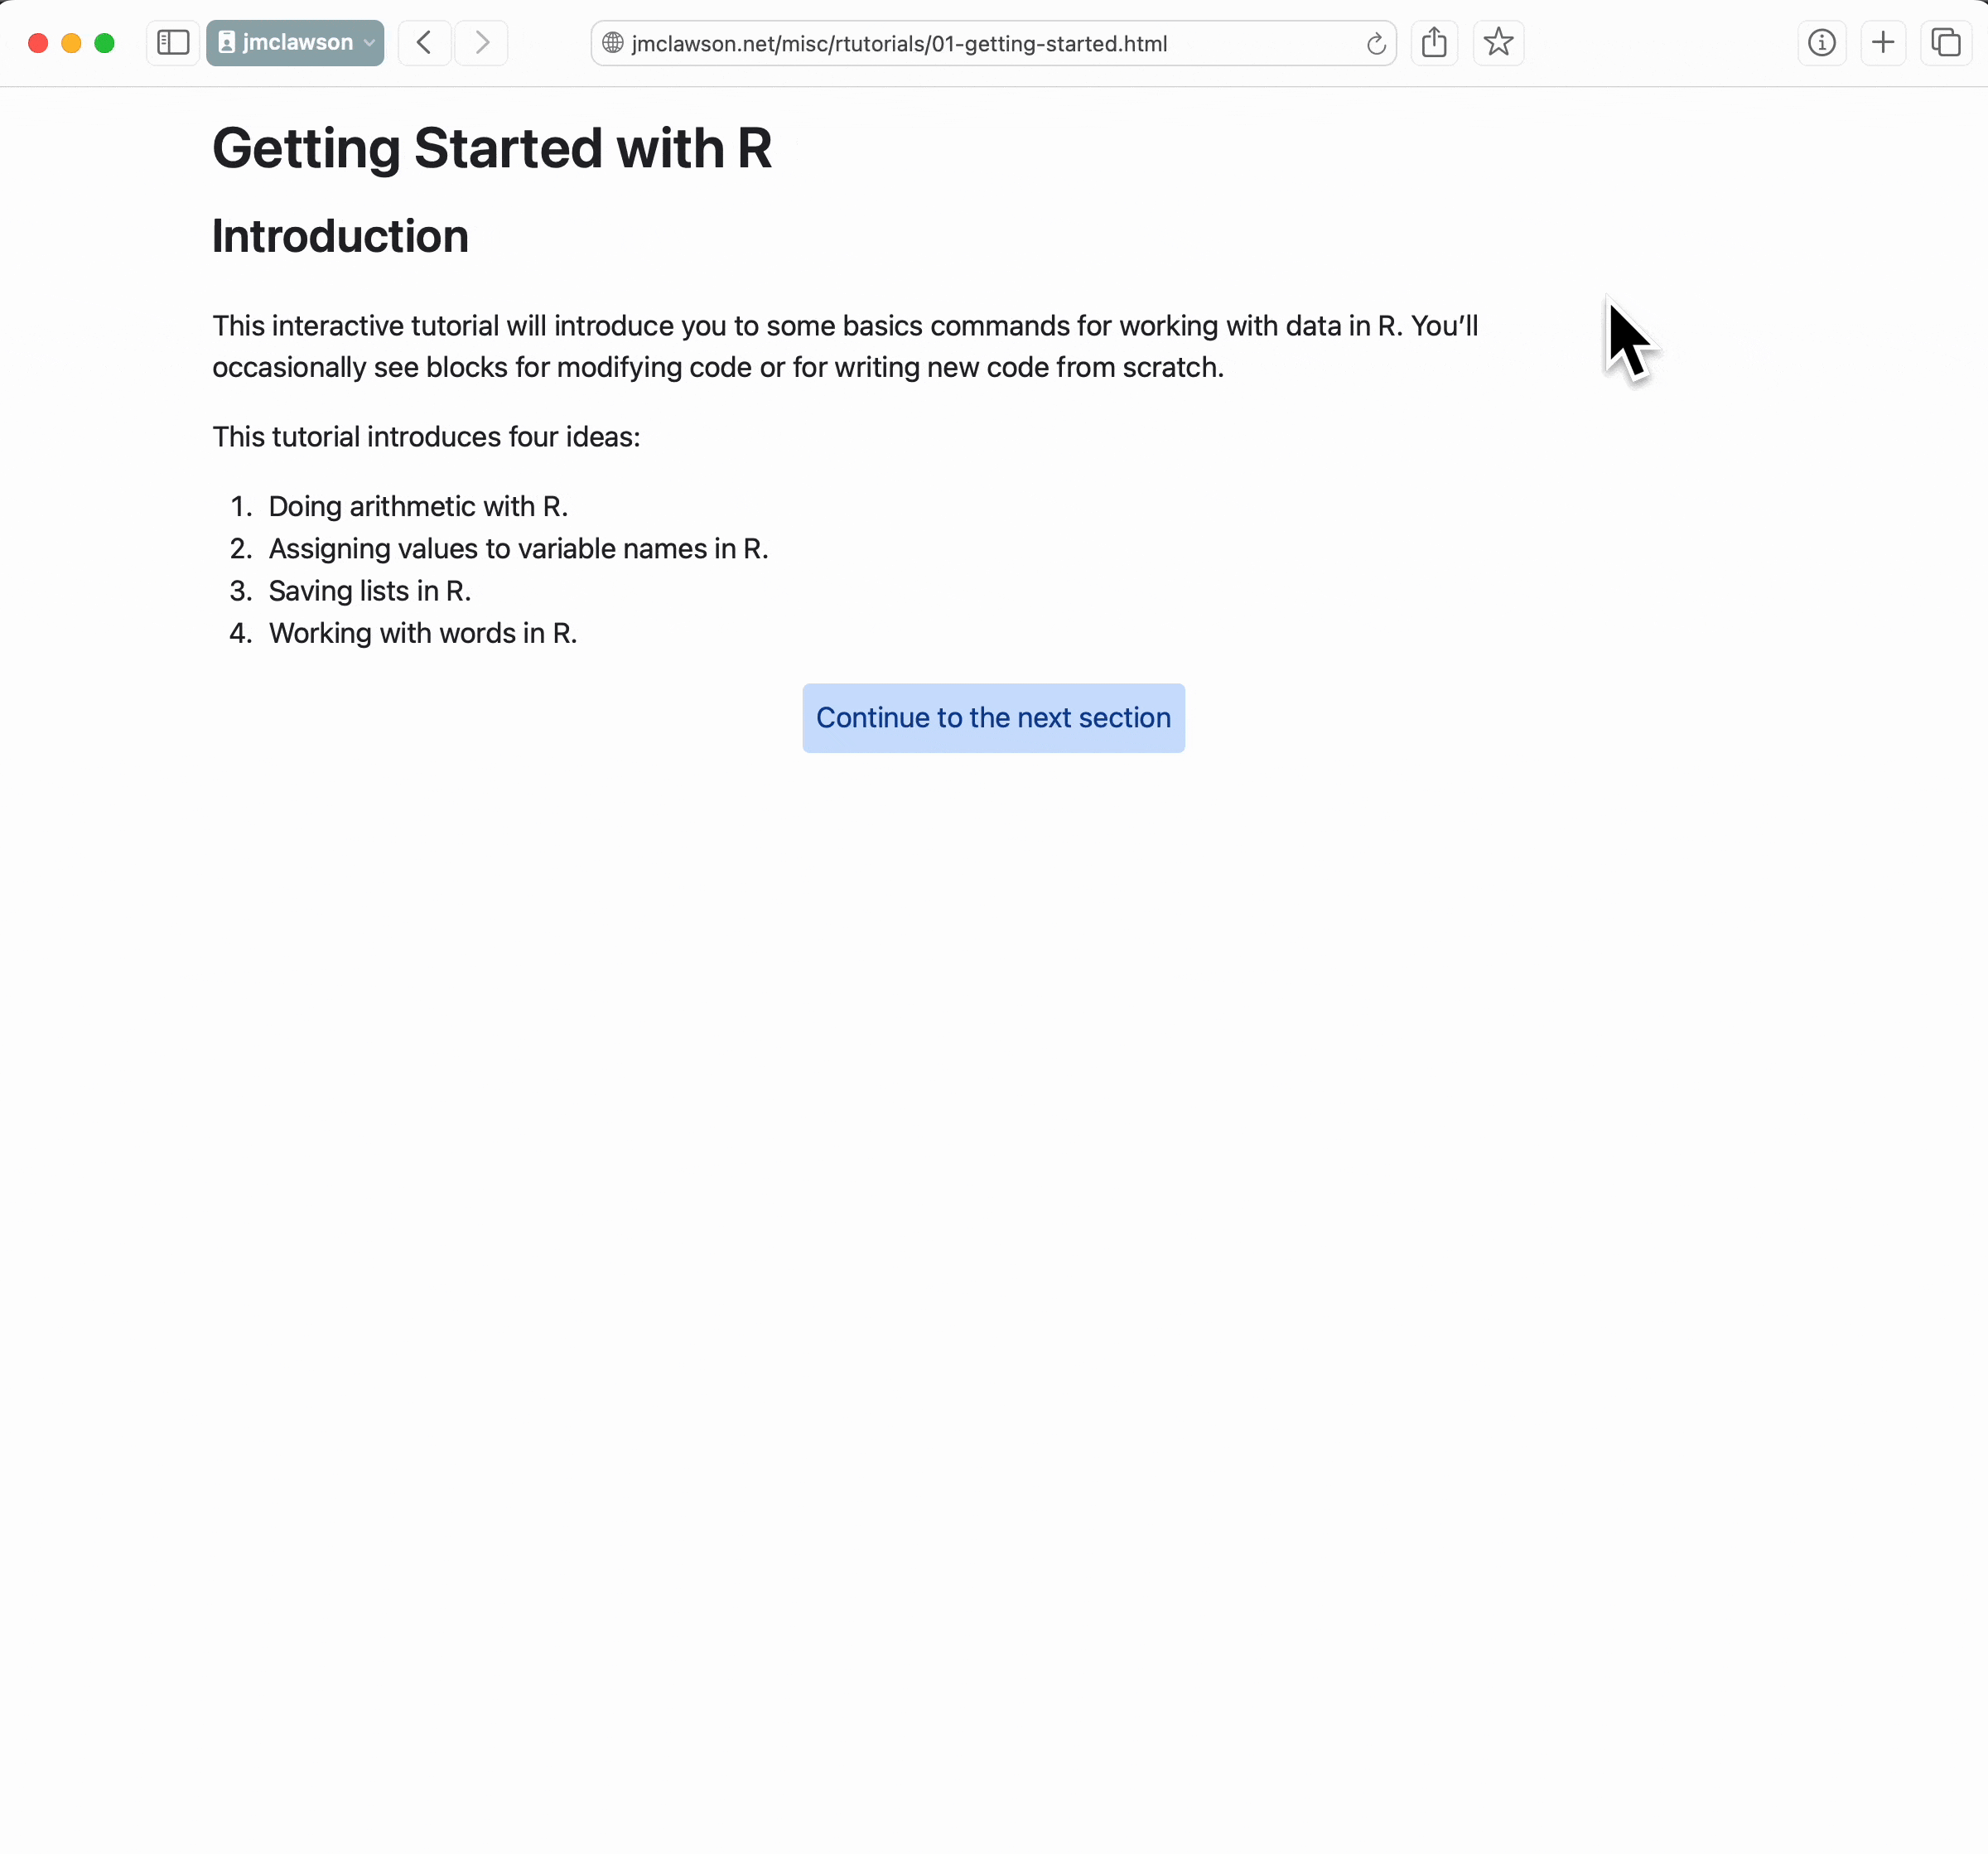
1 Fertile Ground
As a professor teaching R in data analytics courses, I used the learnr and gradethis packages to create interactive web tutorials with checking and feedback. Students went out of their way to tell me that they enjoyed using these self-paced tutorials, and I could tell from their work that they were understanding the lessons. Sadly, Shiny servers for hosting these lessons aren’t cheap.
This is why WebR might be my next CSS. Offering the ability to run R without a dedicated server, it streamlines workflows and reduces hosting costs. And the quarto-live extension includes support for learnr tutorials, making it ideal soil for transplanting old plants.2
2 This kind of change is already in the air. Andrew Heiss used the quarto-webr extension to create standalone versions of RStudio’s classic R Primers and interactive lessons in his Data Visualization course. Ted Laderas used the quarto-live extension in rewriting the R Bootcamp course. There are undoubtedly others who are also using or reworking learnr tutorials to take advantage of WebR’s advantages.
2 Garden Borders
Garden borders define the space and give it structure. They say, “Here’s what the garden is all about,” and they help the visitor frame what they’re seeing without distraction. I found this kind of focus crucial when teaching. Drawing borders and limiting a lesson to what it’s about gives learners the chance to take it in and appreciate it without distraction.
With learnr, progressive reveal draws neat borders in a tutorial, limiting what the learner sees and letting them focus on their current step without worrying about what’s next. Sadly, this progressive reveal gets lost when transplanting even my thriving-est tutorials from Shiny into WebR.
But CSS makes my zen garden possible! Adjusting display and visibility can keep borders tight and crisp and, unlike a physical garden, shift those borders when needed. The biggest difficulty is in recognizing the weeds.3
3 CSS selectors determine which part of a web page is being targeted by a certain style definition. And finding the right selector feels like equal parts science and art—the very combination of logic and beauty that excites me about CSS! Documentation for rvest has a good introduction to web scraping including details on selectors, and the Library Carpentry and Scraping Bee both have explanations on choosing selectors. Many of these selectors did not exist twenty years ago.
2.1 Revealing progressively
Because web pages made using quarto-live use the <section> tag to divide at each header, we can use CSS to find any section containing a <div> child with data-check="true" and lacking a <div> child with class="exercise-grade alert-success". We have to be a little specific to to target sections that contain these exercises as parents rather than as grandparents. Once we’ve narrowed our target to the right sections, we can adjust our aim to point to all the siblings that come after these sections:
style.css
/* hide later sections until exercises are complete */section:has(div[data-check="true"]):not(:has(div div div div div.exercise-grade.alert-success))~* {display:none!important;}/* reveal later sections when exercises are complete */section:has(div div div div div.exercise-grade.alert-success)~* {display:block;}
In place of these hidden sections, it’s probably helpful to indicate that something more is on the way. We can use CSS again to add an indicator after every section that needs to be completed before moving on. We want it to look nice, too, so we’ll add styling. Although we’re being a little sloppy here with our targeting, absolute positioning lets us stack message bubbles on top of each other to show only the the top one.
style.css
/* message pill to explain hidden sections */section:has(div[data-check="true"]):not(:has(div.exercise-grade.alert-success))::after {content:"(Complete to continue.)";color:#664d03;background-color:#fff3cd;border-color:#ffecb5;}/* general pill styling */section:has(div[data-check="true"]):not(:has(div.exercise-grade.alert-success))::after {display:inline-block;position:absolute;left:0;right:0;margin-inline:auto;border-radius:0.25rem;padding:0.5em;width:fit-content;}
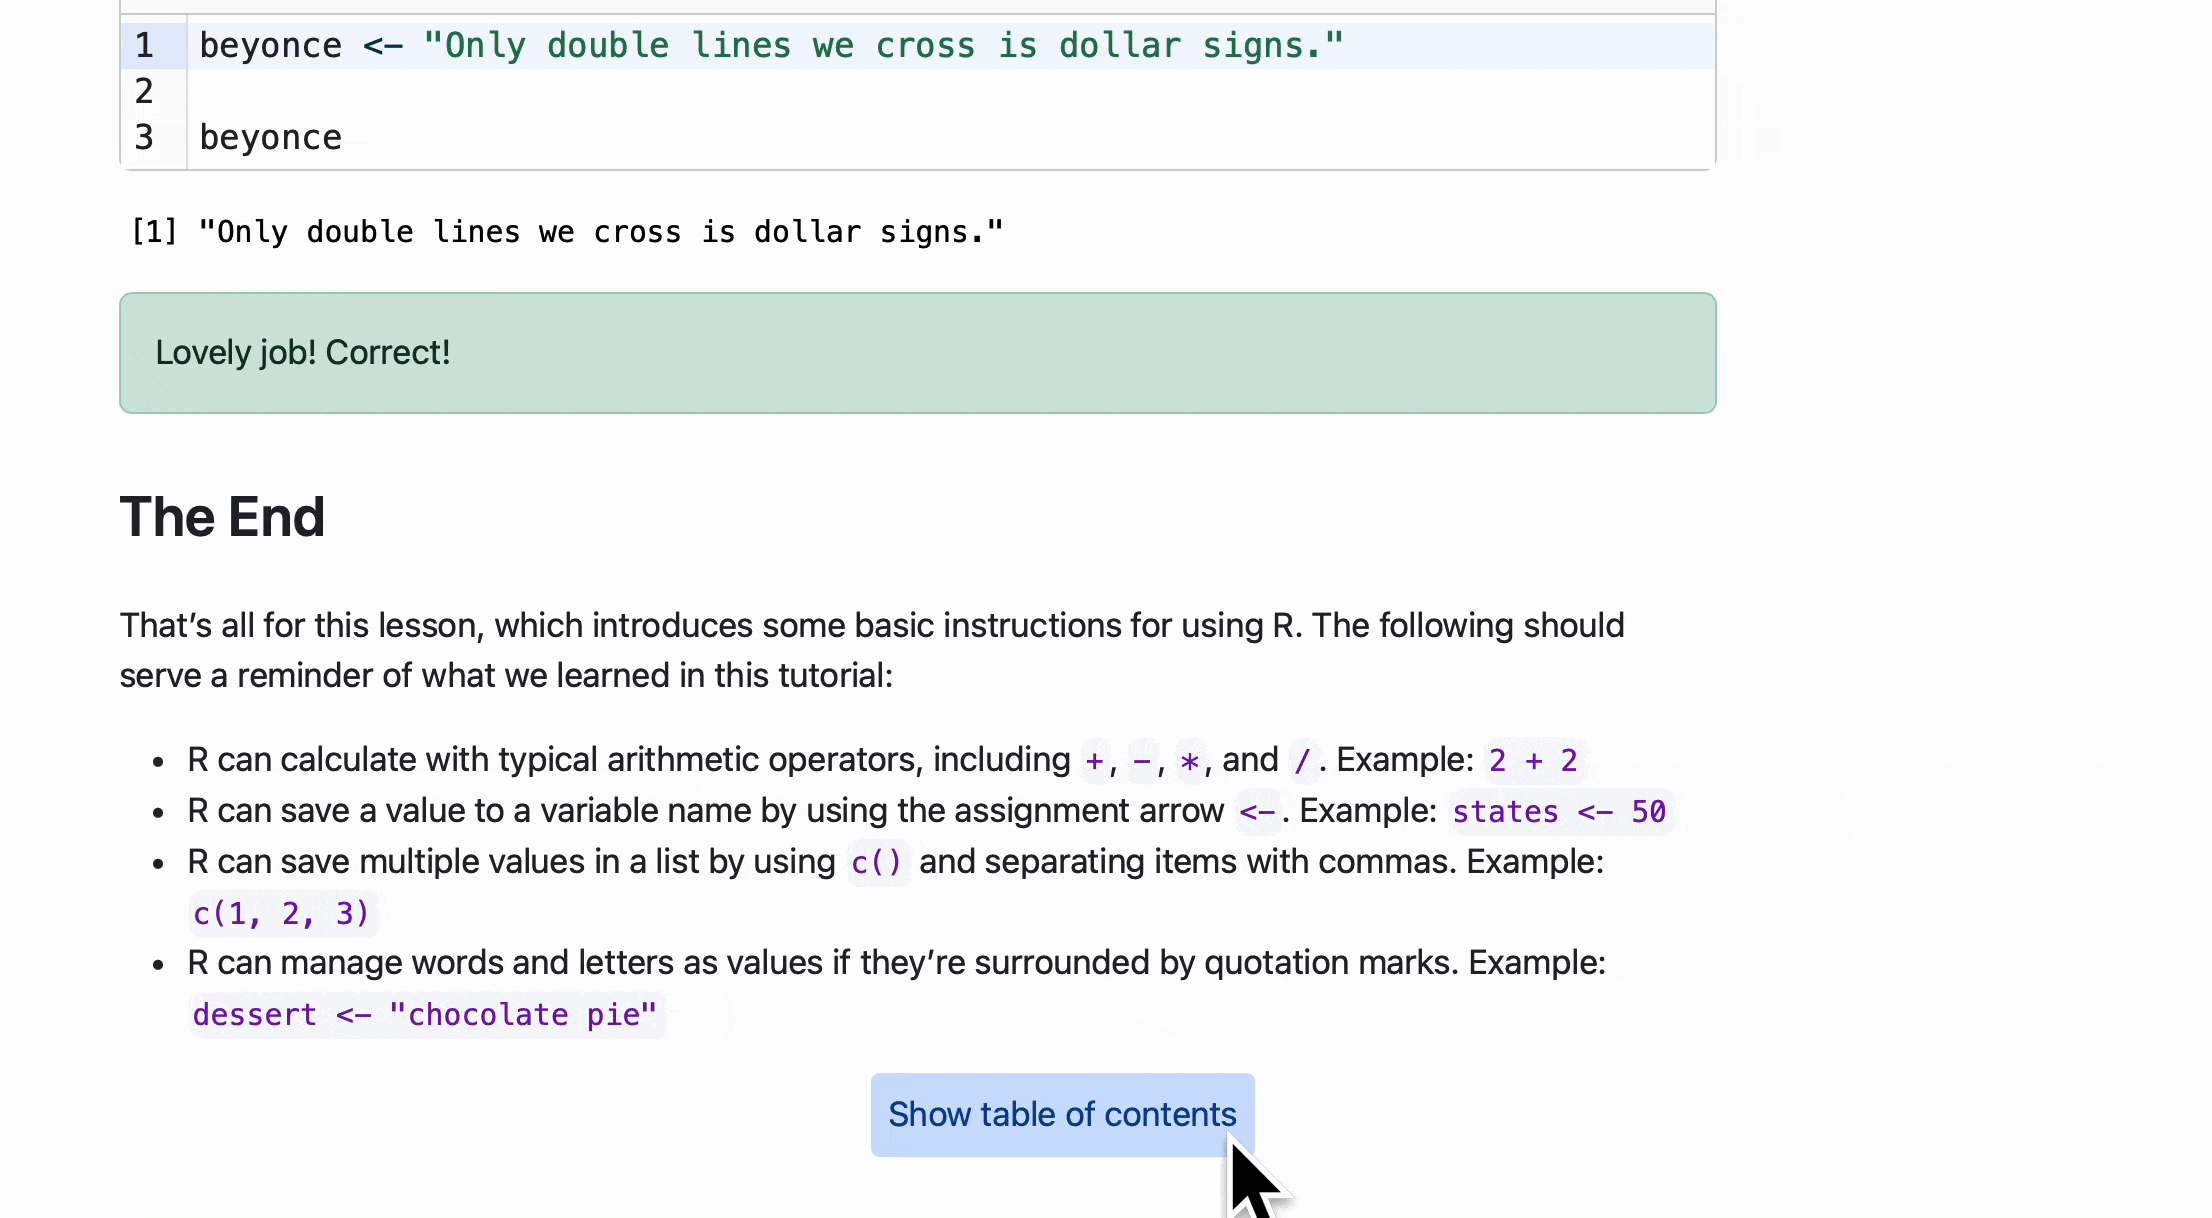
In addition to the specific message and color of this message, I’m also defining a general “pill” shape for other messages, like advancing to the next section. Here’s how it looks so far:
Later sections reveal when exercises are completed.
2.2 Toggling sections
The CSS definitions defined above are almost good enough, but they aren’t perfect. If one section includes two exercises, for instance, then completing one exercise is enough to reveal subsequent sections. The current CSS specification—and the way exercises are currently presented in quarto-live—doesn’t make it possible to target with any more precision. So I planted a workaround.
Markdown (and thus Quarto) makes it easy to add HTML form elements in a web page. As we build our tutorials with progressive reveal, we can use form elements to introduce hard breaks before any overeager section. Something like the following is easy to read in a Quarto document and easy to target with CSS:
- [ ] Continue to the next section
In Quarto, this Markdown typically renders into the following HTML, with a task-list CSS class:
Toggles like these are easy to target in always-amazing CSS, which we can also use to style them as message pills that disappear when checked. On top of that, we can check their status to hide or show subsequent sections. Here are the updated parts of our CSS:
style.css
/* hide later sections until exercises are complete or box is checked*/section:has(div[data-check="true"]):not(:has(div div div div div.exercise-grade.alert-success))~*,section:has(ul.task-list input[type="checkbox"]:not(:checked))~* {display:none!important;}/* general pill styling */section:has(div[data-check="true"]):not(:has(div.exercise-grade.alert-success))::after,ul.task-list:has(input[type="checkbox"]:not(:checked)) {display:inline-block;position:absolute;left:0;right:0;margin-inline:auto;border-radius:0.25rem;padding:0.5em;width:fit-content;}/* action pill for next sections*/ul.task-list:has(input[type="checkbox"]:not(:checked)) {color:#084298;background-color:#cfe2ff;border-color:#b6d4fe;cursor:pointer;}/* (hover) */ul.task-list:has(input[type="checkbox"]:not(:checked)):hover, ul.task-list:has(input[type="checkbox"]:not(:checked)) label:hover {color:#055160;background-color:#cff4fc;border-color:#b6effb;cursor:pointer;}/* remove action pill on click */ul.task-list:has(input[type="checkbox"]:checked), ul.task-list input[type="checkbox"] {display:none;}
The resulting interaction looks like this:
Toggles allow manual reveal of some sections.
2.3 Showing the table of contents
With all of this weeding, we’ve neglected to do anything with Quarto’s table of contents. If it’s enabled in a document’s YAML header, then it’ll flounder helplessly on the edge, showing all of a tutorial’s sections but unable to link to those that remain disappeared. With CSS, we can hide the contents and reveal them at the end, after another check box is checked. This checkmark will need a little extra Markdown to differentiate it from the checkmarks that divide sections, but that compromise is worth it:
::: showtoc
-   [ ] Show table of contents
:::
Adding the showtoc class to a surrounding <div> helps our CSS know right where to find this toggle. We only need to add the following definitions:
style.css
/* hide toc until end */#quarto-content:has(.showtoc input[type="checkbox"]:not(:checked)) nav#TOC {visibility:hidden;}/* show toc at end */#quarto-content:has(.showtoc input[type="checkbox"]::checked) nav#TOC {visibility:inherit;}
Here’s how it looks on the page:
The table of contents is revealed with a click.
2.4 Choosing when to hide
Things are looking pretty good now—but maybe we don’t want every exercise to limit a learner’s progression? Luckily, Quarto makes it easy to add a CSS class wait to certain code chunks, which we can use to further target things. In a Quarto code chunk, just add class: wait to the code chunk used for checking an exercise, as shown here:
To target only these excercises, we can update our CSS definitions. Any time we see div[data-check="true"], which targets every code-checking <div>, we can add the wait class by replacing it with this: div.wait[data-check="true"]. (I’m not going to include all of that code here, but I’ll share a final version at the end.)
3 Pathways
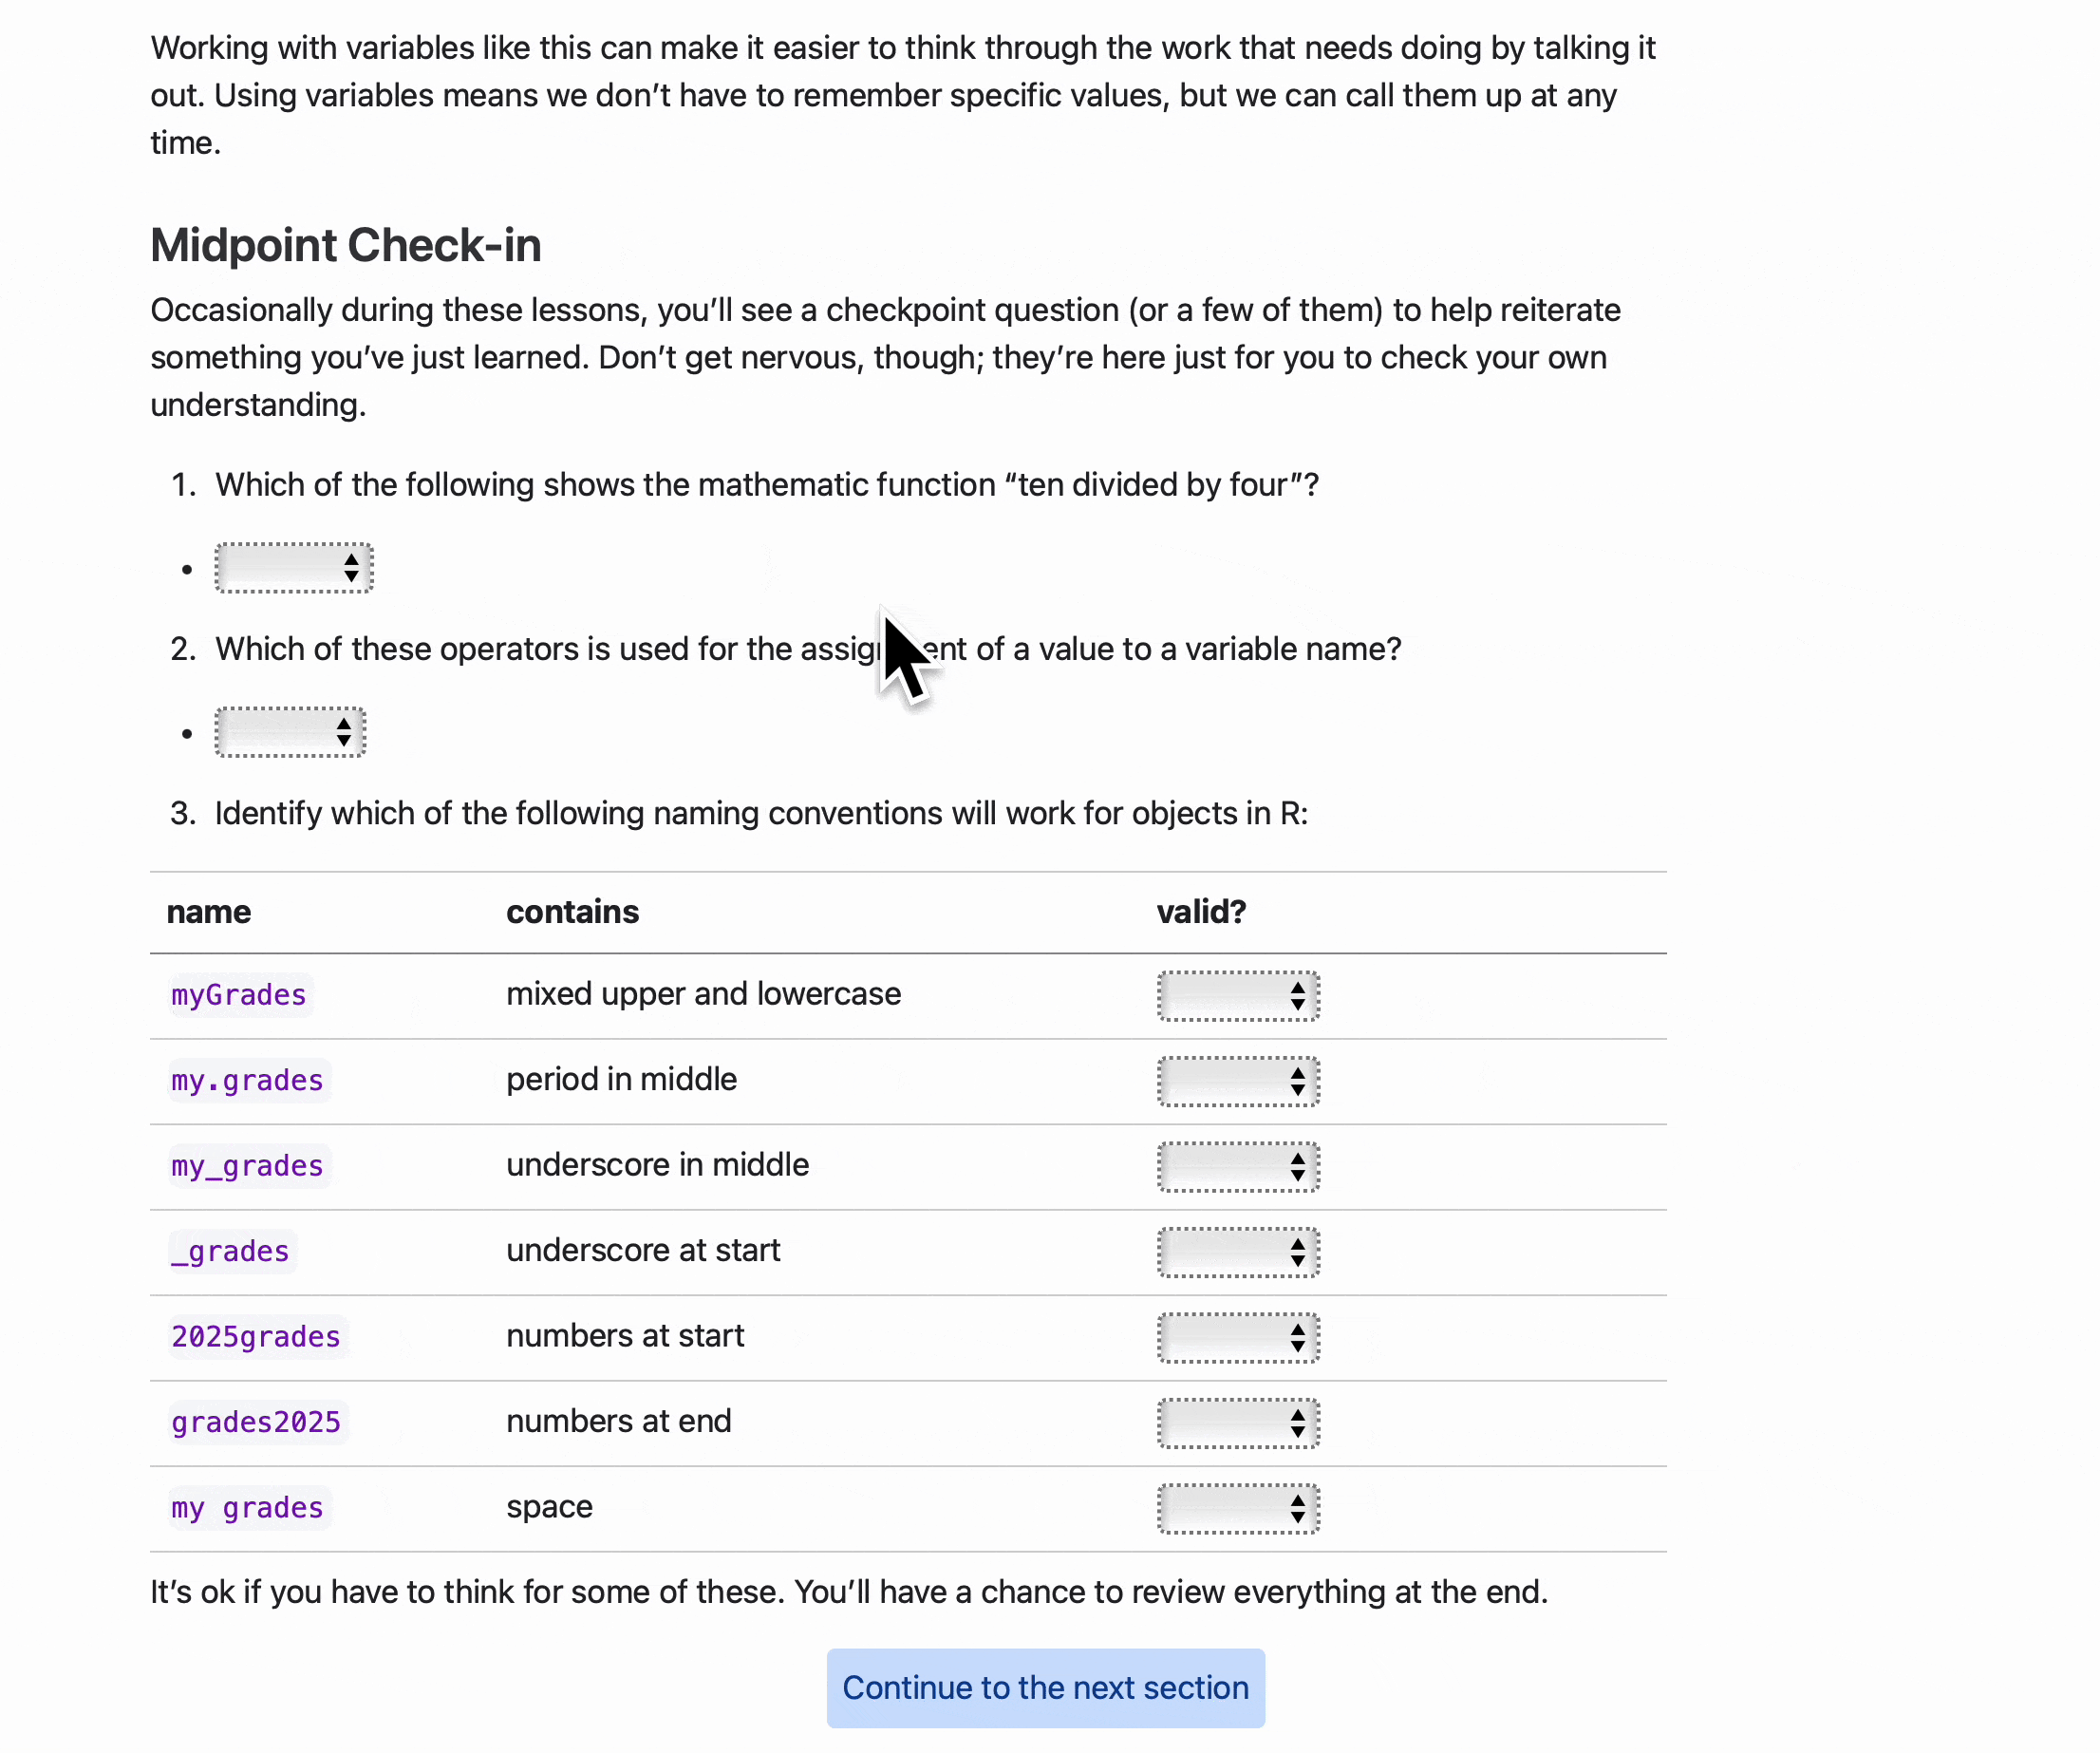
Borders define a garden’s relationship to a wider context, but pathways shape how a visitor moves through the garden, defining their relationship to it. Paths assess where someone is, relate that to where they are going, and suggest how they need to get there. They play a similar role to assessments in education—whether quizzes, tests, or simply asking, “Does this make sense?” Checking how learners engage with material and offering minor course corrections is the best way to make sure they’re still on the right path.
In learnr with Shiny, this was easy. With periodic short quizzes in an interactive tutorial, I could ask students to think through the things they’ve just read to imagine a greater context for understanding. This, too, gets lost in a transplant to WebR.
CSS can do a lot, but this time only an R package is needed. The webexercises package offers one of many options to replicate learnr’s quizzes, checking comprehension in plain language. Adding “webex.css” and “webex.js” to the project directly will make things available.
Interactive exercises provide instant feedback.
4 Framing the View
While pathways shape how a visitor moves through a garden, sometimes we want to let them stop and take in the view. An opening in a hedge, a break in the tree line, or a raised overlook can offer a new perspective on familiar ground. These kinds of opportunities are no less true when teaching. (Yes, I’m going to run this “teaching is like gardening” analogy into the ground.) While I usually wanted to keep focus limited in any particular lesson, it was also helpful to connect things to a bigger picture and reveal them in the context of an entire course. Stepping back to see the landscape is necessary to understand the role of a single flower.
When it comes to our online lesson, anyone who works through our WebR tutorial should feel proud of the work they’ve done. But they should also be able to review it! After defining our borders and laying out our pathways step by step, couldn’t we also plan a scenic overlook?
Pruning shears may not be zen, but JavaScript offers its own way to frame a view. With it and a simple change to the URL, we can adjust the CSS and toggle display of our hidden elements. The following, in a file beside our tutorials, is enough for it it to work:
This script makes the page responsive to the URL, introducing an ID element to the page’s <body> tag depending on whether the URL includes a key phrase. Adding “?displayall” to the end of the URL makes all elements on the page CSS descendants of #displayall. Otherwise, they become descendants of #progressive.
With this change, we can update our CSS so to hide elements only when the page’s <body> tag has the progressive ID. Our CSS file is complete.
Show it all!
style.css
/* hide later sections until exercises are complete */body#progressive section:has(div.wait[data-check="true"]):not(:has(div div div div div.exercise-grade.alert-success))~*,body#progressive section:has(section div.wait[data-check="true"]):not(:has(section div div div div div.exercise-grade.alert-success))~*,body#progressive section:has(ul.task-list input[type="checkbox"]:not(:checked))~* {display:none!important;}/* reveal later sections when exercises are complete */section:has(div div div div div.exercise-grade.alert-success)~* {display:block;}/* general pill styling */body#progressive section:has(div.wait[data-check="true"]):not(:has(div.exercise-grade.alert-success))::after, body#progressive ul.task-list:has(input[type="checkbox"]:not(:checked)) {display:inline-block;position:absolute;left:0;right:0;margin-inline:auto;border-radius:0.25rem;padding:0.5em;width:fit-content;}/* message pill to explain hidden sections */body#progressive section:has(div.wait[data-check="true"]):not(:has(div.exercise-grade.alert-success))::after {content:"(Complete to continue.)";color:#664d03;background-color:#fff3cd;border-color:#ffecb5;}/* remove message after completed sections */section:has(div.exercise-grade.alert-success)::after {content:"";}/* action pill for next sections and toc */body#progressive ul.task-list:has(input[type="checkbox"]:not(:checked)) {color:#084298;background-color:#cfe2ff;border-color:#b6d4fe;cursor:pointer;}/* (hover) */body#progressive ul.task-list:has(input[type="checkbox"]:not(:checked)):hover, ul.task-list:has(input[type="checkbox"]:not(:checked)) label:hover {color:#055160;background-color:#cff4fc;border-color:#b6effb;cursor:pointer;}/* remove action pill on click or displayall */ul.task-list:has(input[type="checkbox"]:checked), ul.task-list input[type="checkbox"], body#progressive ul.task-list:has(input[type="checkbox"]:not(:checked)) {display:none;}/* hide toc until end */body#progressive#quarto-content:has(.showtoc input[type="checkbox"]:not(:checked)) nav#TOC {visibility:hidden;}/* show toc at end */#quarto-content:has(.showtoc input[type="checkbox"]::checked) nav#TOC {visibility:inherit;}
And here’s how it looks to make this change:
Changing the URL reveals all the hidden parts.
5 Trellises and Supports
There’s a lot more to garden maintenance than just considering pathways and views. Gardens also need the right supports for growth and structure. The same is true in our Quarto document. (Surprise! Now gardening is like creating documents!) To pull all these parts together, we need to establish frameworks and build garden beds for things to grow: installing extensions with Bash, adjusting the YAML header, and adding Quarto includes.
As the quarto-live documentation explains, it’s necessary first to install the extension in the project directory by typing the following into the terminal:
Terminal
quarto add r-wasm/quarto-live
Next, we set up the YAML header to use the right format, engine, format, style, and other things. To make it easier to upload each tutorial as a standalone HTML file, I’m also using Quarto’s embed-resources option:
After the YAML header, we have to remember to embed the necessary include codes to use quarto-live and gradethis, making sure each is on its own line:
{{< include ./_extensions/r-wasm/live/_knitr.qmd >}}{{< include ./_extensions/r-wasm/live/_gradethis.qmd >}}
These supports keep everything in place.
6 Full Bloom
With the right design, a garden can be a thing of beauty. Trellises give support for growth, overlooks offer sightlines for context, pathways focus attention, and borders keep things defined. Of course, our garden also needs plants. —Put another way, our tutorial also needs content, but you’ll have to supply your own. Seedlings aren’t free!
This part was easy for me since I’m transplanting lessons I’d already created. In fact, my first tutorial using WebR and fertilized with CSS is now in full bloom, interactive, well-structured, and ready to stroll through. With links to the working document and its GitHub repository, you can dig into the details or adapt the structure for your own projects, too.4
4 A code snippet also helps simplify the process of preparing exercises.
What’s possible today is vastly different from what was possible twenty years ago. The CSS pseudo-classes used here, for example, simply didn’t exist in my first trips to the garden! But with the advances of modern CSS—along with a little JavaScript, YAML, Quarto, and a lot of WebR—even online tutorials can be a place of zen.
Citation
BibTeX citation:
@misc{clawson2025,
  author = {Clawson, James},
  title = {Cultivating {Interactive} {Tutorials} (with {CSS} and
    {WebR)}},
  date = {2025-02-18},
  url = {https://jmclawson.net/posts/quarto-live/},
  langid = {en}
}